PRACTICAL GUIDE · PROMPTTOVISUAL
ChatGPT Images 2.5: Flare, Sunburst and Sketch Explained
Understand Images 2.5, use Sketch for composition, and prepare a clearer image prompt. Official release facts and PromptToVisual availability are separated.
Flare vs Sunburst quick comparison
Comparing GPT Image 2.5 Sunburst vs Flare? Start with the documented positioning and the same image-token rates, then inspect the retained examples for your own task.
| Comparison | Flare | Sunburst |
|---|---|---|
| Official positioning | Fast everyday image generation | Editing precision |
| Image input / 1M tokens (USD) | $8 | $8 |
| Cached image input / 1M tokens (USD) | $2 | $2 |
| Image output / 1M tokens (USD) | $30 | $30 |
| PromptToVisual setting / cost | Medium / 6 credits | Medium / 6 credits |
| Retained generation response time | 13.3s — single retained run, not benchmark | 12.8s — single retained run, not benchmark |
| Inspect our evidence | Flare generation and edit samples | Sunburst generation and edit samples |
Equal token prices do not guarantee equal actual cost per image: token consumption, quality settings and output can differ. These are OpenAI API image-token rates, not a fixed per-image quote or PromptToVisual retail pricing. Review actual usage for an API request; our studio separately displays its credit cost.
The 13.3s and 12.8s values are end-to-end API response times from one retained generation per model. They do not establish that Sunburst is faster, an average latency, a quality winner or a service guarantee. No new generation was run for this comparison.
Official sources: Flare model documentation and Sunburst model documentation.
NOW IN THE STUDIO · 6 CREDITS PER IMAGE
Try the models. See the actual results.
These are our real launch outputs, generated with the same bottle prompt at medium quality. Open a model to inspect the prompt, reference edit and limitations, or start creating.
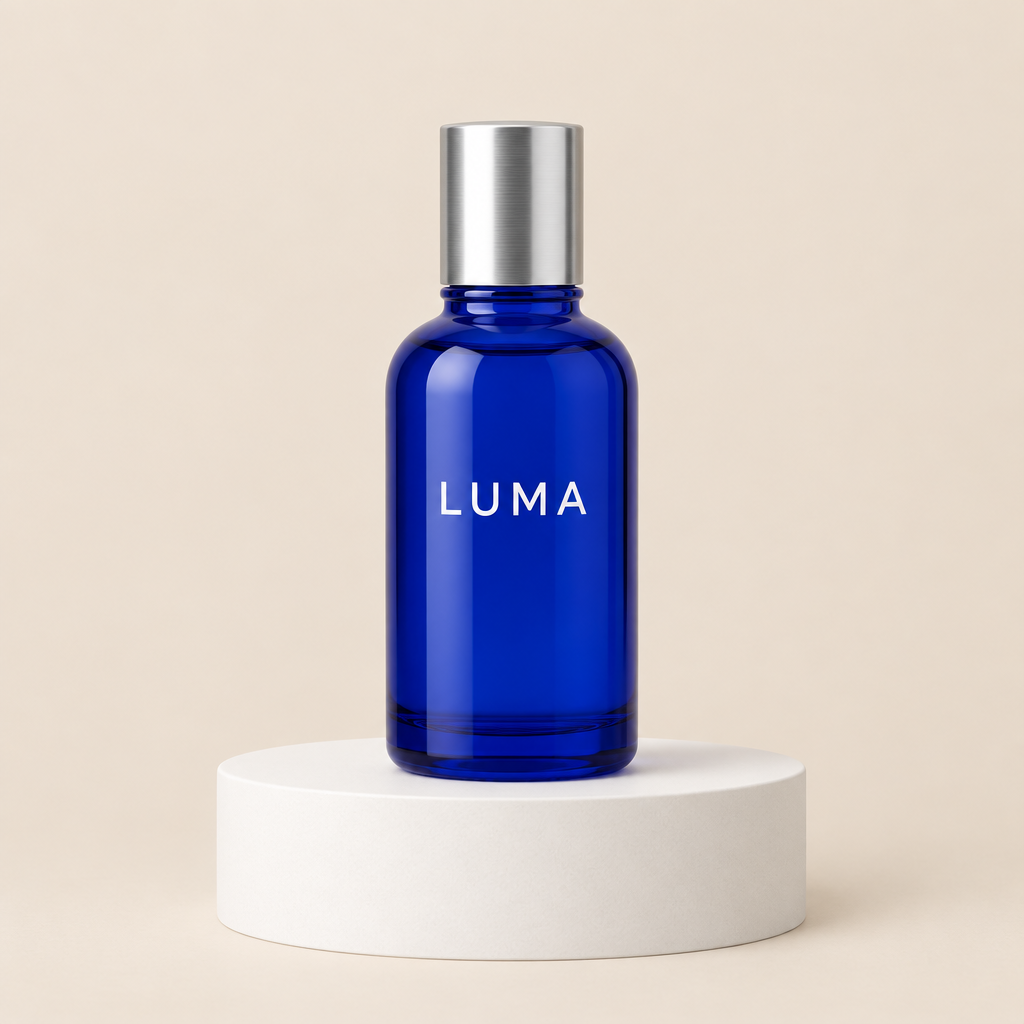 GPT Image 2.5 Flare →
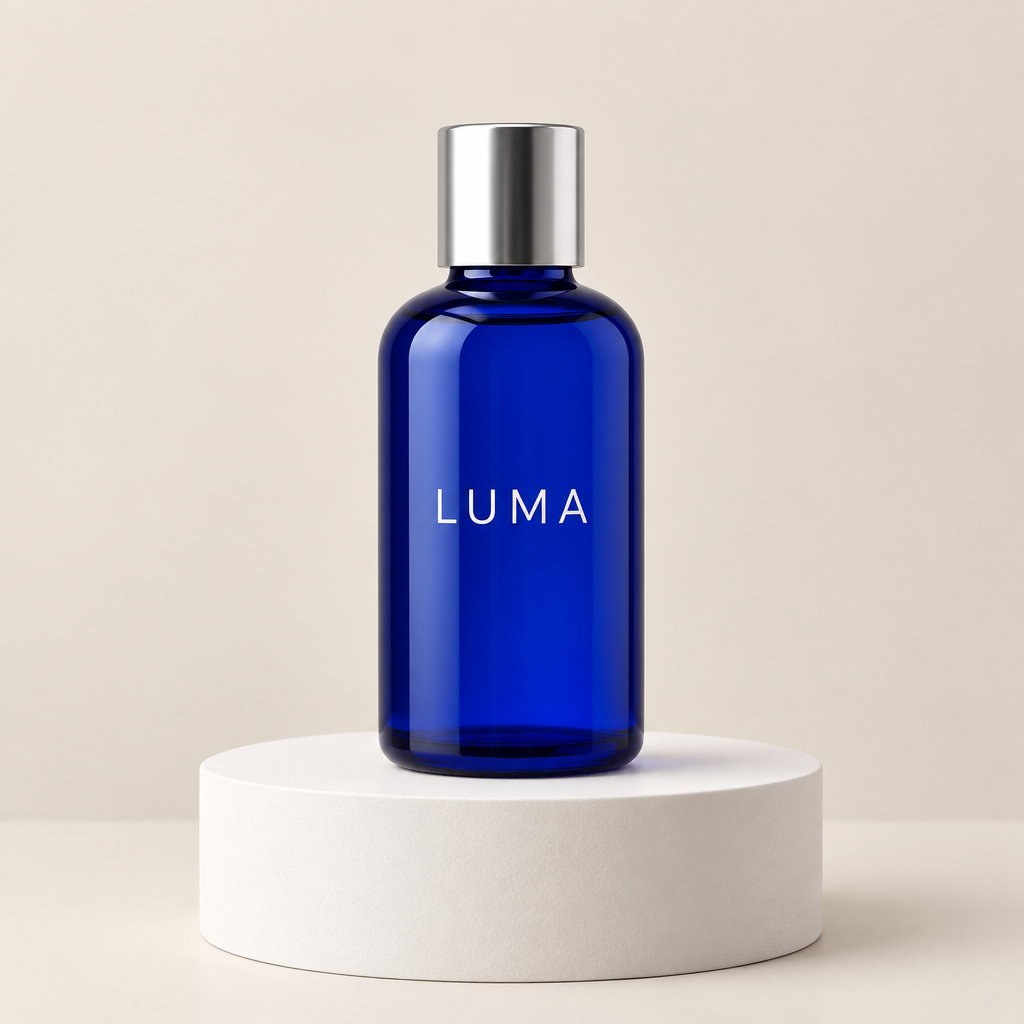 GPT Image 2.5 Sunburst →
What was released?
OpenAI announced ChatGPT Images 2.5 on September 8, 2026, with rollout to ChatGPT, ChatGPT Work and Codex across web, desktop and mobile. The announcement introduces GPT-Image-2.5 Flare and GPT-Image-2.5 Sunburst for API users. This is an independent practical guide, not an OpenAI product page. PromptToVisual now offers Flare and Sunburst at medium quality, each at 6 credits per image. Sketch remains a separate ChatGPT feature; our existing GPT Image 2 option is a different model.
Flare or Sunburst?
OpenAI positions Flare for fast everyday image generation and Sunburst for workflows where editing precision matters most. These are official model positions, not a measured ranking from PromptToVisual. Both accept text and image inputs. Use the quick comparison below to separate API token prices from our studio credits and retained sample timings.
How to use Sketch in ChatGPT
Type @Sketch in ChatGPT, draw your composition on its canvas, and add a description of the intended style. OpenAI gives room layouts, clothing contours and doodles as examples. Sketch belongs to ChatGPT: the Start creating button in the site header opens PromptToVisual’s separate prompt-based studio. It does not launch an embedded Sketch canvas.
1. Decide what the drawing must communicate
Before drawing, list the relationships that would be difficult to describe with words alone. In a room, that could be a window behind the desk, an open walkway on the right, and a chair facing inward. In a clothing concept, it could be the length of the sleeves and the shape of the collar. Use the sketch to communicate placement and silhouette. Write the material, mood and rendering style separately. This is our suggested briefing method, not a claim about an undocumented product control.
2. Turn the layout into a short brief
Try this original, untested example: “Create a warm editorial illustration of a reading corner. Keep the chair on the left, the low bookcase along the back wall and the window on the right. Use soft afternoon light, muted green upholstery and oak furniture. Keep the center floor area clear.” Adapt every object to your actual drawing. Remove descriptions of objects that are absent from it. A sketch and a prompt that contradict each other make it harder to judge whether the result followed your intent.
3. Separate placement from style
Review your brief in two passes. First, describe what should appear and where it belongs. Second, describe how it should look. For a product concept, the first pass might specify one bottle centered above a narrow shelf, with blank space for a later headline. The second could specify a matte surface and soft studio lighting. This division helps you diagnose an unsatisfactory result: was the composition wrong, or was the rendering style unsuitable? It is more useful than changing every instruction at once.
4. Make one meaningful edit at a time
Keep an initial result before revising it. Ask for one change, then inspect both the changed region and details you wanted to retain. For example, change the chair material while checking whether the window, table and room proportions drifted. A model’s editing improvement is not a pixel lock. If a label, brand mark or exact wording is essential, inspect it at the intended output size. Use a conventional text overlay for final wording when that meets your requirements.
A small comparison you can run
Define the acceptance criteria before spending credits: object count, position, required wording and details that must survive an edit. Keep the same brief, source and requested output shape across the alternatives you can actually access. Record the selected model, settings, elapsed time and final output. Compare several relevant examples before drawing a broad conclusion. Do not treat a provider’s showcase or one attractive thumbnail as proof that a model will work consistently for your own materials.
Can I use Images 2.5 here?
Yes. Choose GPT Image 2.5 Flare or GPT Image 2.5 Sunburst in the studio. Both use medium quality and cost 6 credits for a generation or single-reference edit. Their model pages show our September 9 launch samples: one bottle generation and one color edit per model. These small checks are not a benchmark. The older GPT Image 2 remains separately selectable. Check the model and displayed cost before submitting; a failed job restores its reserved credits once.
Official API settings versus this studio
OpenAI publishes gpt-image-2.5-flare and gpt-image-2.5-sunburst as the API model IDs for these two options, and its image documentation describes quality settings that this studio does not expose: PromptToVisual requests the medium setting and offers no quality selector. A request here returns one image in square, portrait or landscape form at 1024 × 1024, 896 × 1120 or 1344 × 752 pixels, and an edit accepts one optional reference image of up to 5 MB. Those are our own configured limits rather than a summary of everything the underlying API accepts. Check the studio controls and the displayed credit cost before submitting.
Which workflow should I choose now?
Use ChatGPT if you specifically need its Sketch canvas. Use the available PromptToVisual models when you want to work from a written brief and review the displayed generation cost. Use our local crop, comparison or text-overlay tools to finish an already useful image. They solve narrower tasks without asking a generative model to reinterpret the whole scene. Save the original and compare the exported file before using it in a presentation, listing or campaign.
Source and availability check
Official model documentation rechecked September 30, 2026. Studio limits remain as documented above. The official announcement and model pages are linked below. The workflow suggestions and sample brief above are editorial guidance, not claimed Images 2.5 outputs. The reference-image limit above comes from this studio’s own upload configuration rather than from the release announcement, and this guide does not describe phone-camera sketch capture because the announcement does not establish it.
Sources and next steps
Source check: September 30, 2026. OpenAI’s current image model documentation and model directory still list GPT Image 2.5 Flare and Sunburst. This directory check does not establish that no new image model was announced at DevDay. API prices below are not PromptToVisual retail prices.
OpenAI: Images 2.5 announcement →
OpenAI: GPT-Image-2.5 Flare model page →
OpenAI: GPT-Image-2.5 Sunburst model page →
OpenAI: current model directory →
Flare generator and real samples → · Sunburst generator and real samples → · Images 2.5 and Sketch · LLaDA ComfyUI setup
Continue with the right tool
AI image combiner · Stitch images · Photo collage · Nano Banana 2.1 guide · Related composition guide